Wednesday, April 6, 2022

Planting my spring garden in my desert food forest


There are numerous humorous memes about gardeners' addiction to buying too many plants. I get it. I did some of my own shopping at the recent Organic Gardeners Spring Plant Sale. I got some Jerusalem artichoke, cherry tomato, oregano, peppermint and mint starts and a free succulent clipping. 


My first task was figuring out a place to plant them that would give them the best chance to thrive. The woman who sold me the Jerusalem artichokes suggested that they could go in the same spot where I had previously planted sunflowers - on the south side of the house. There was still some compost left in the ground so I just added rainwater and a little potting soil that Dan had left over from an experiment. I sprinkled some used tea leaves on top as mulch. I went ahead and planted one of the tomato plants next to them to take advantage of the sun on the south facing wall.  


I was a little worried about critters getting to them. This little guy was watching me the whole time.


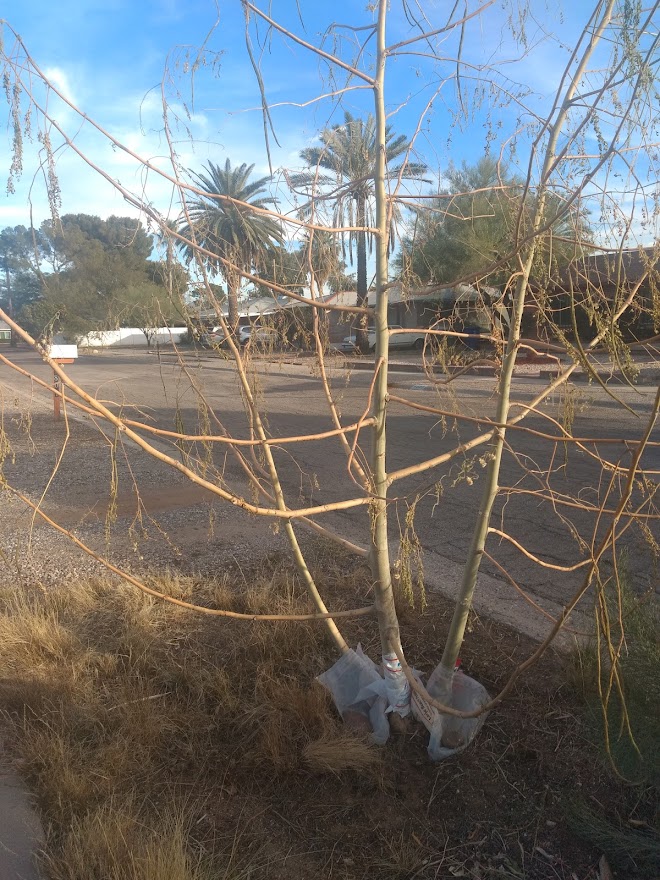
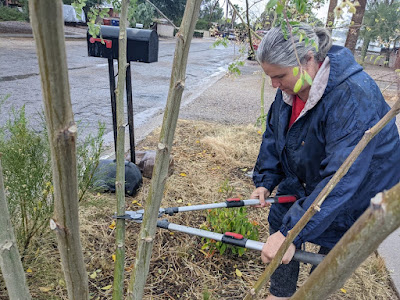
I remembered how the squirrels had dug up the sweet potatoes I planted in the garden. And Jerusalem artichoke roots are yummy, too. So I put protective cages over them. Good thing too. The next day I caught a squirrel pouncing on it. I think the squirrel and lizard were in cahoots because the squirrel loosened the dirt built up around the bottom of the cage allowing the lizard to get in. So I fortified the bottom of the cage with gravel.

Jerusalem artichoke plants after 8 days 
I found some purslane (my favorite edible weed) along the street and planted it just outside the cage to take advantage of any water run off.  In just two days it grew tiny yellow flowers.  I'm hoping it will spread its seeds. 


I hand-watered with rainwater from our cisterns every few hours to keep the soil moist. I suppose it would have been easier to have a string of ollas or a soaker hose. But this method gives me a chance to stretch my legs, get some fresh air and enjoy watching my plants grow. I like to use a watering can because the light stream prevents erosion of the soil I lovingly built. And hand-watering really teaches you that every drop counts.   


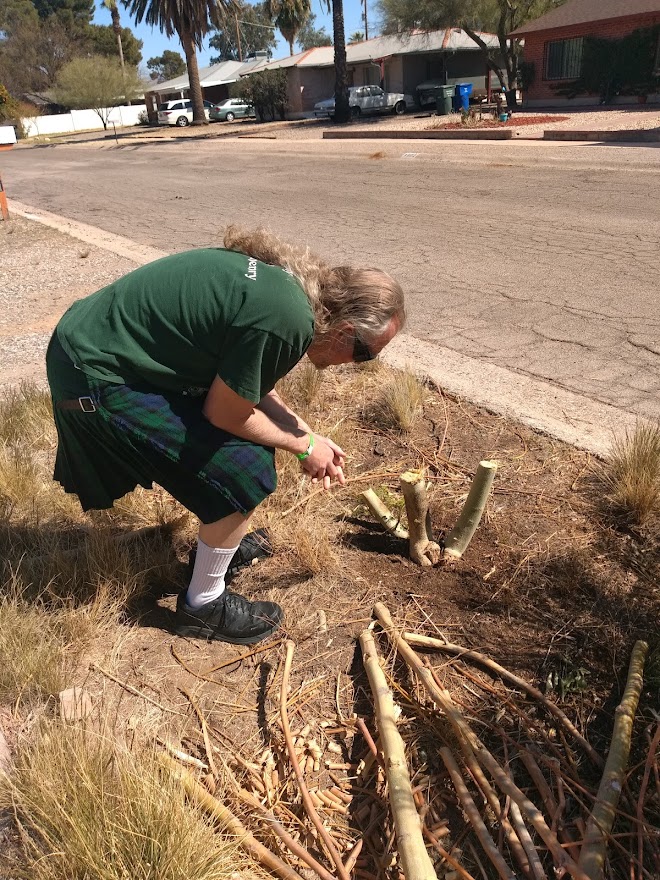
Next, I searched for a place for the other tomato plants. I found a spot with a dead milkweed by a boulder in the front yard.  I pulled it out by the roots. The soil was rich where the roots had been, so I just had to add water. An organic gardener suggested that I pull off the bottom leaves and plant them up to their top leaves to stimulate more root growth for a stronger plant. 


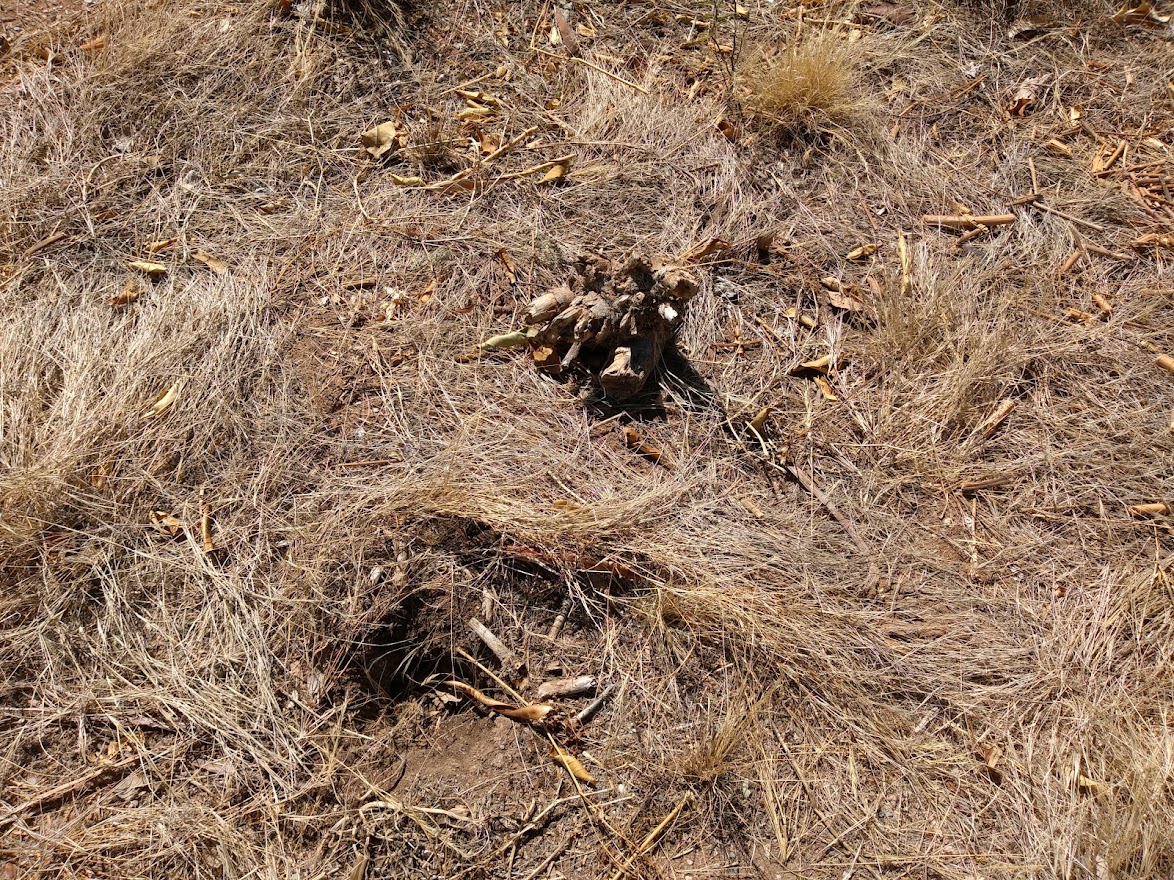
I had a little experiment in mind for the third tomato plant. I wanted to see how it would do as part of a mesquite guild - hoping it would benefit from the nitrogen in the ground. 


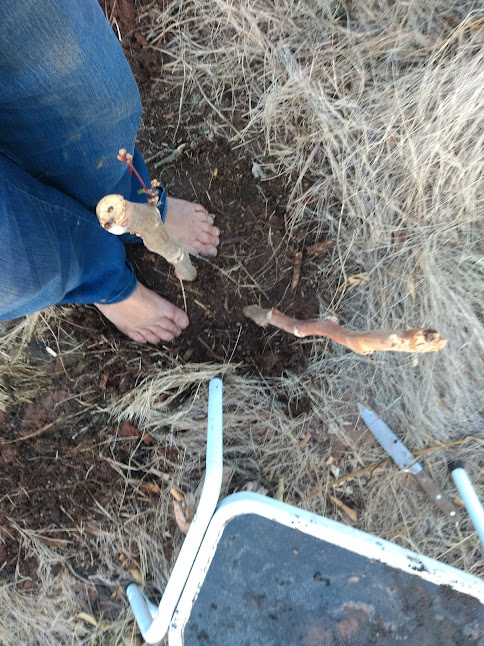
I planted the last tomato start in the backyard garden to see how it does in the shade of a palo verde in a thin blanket of compost.


I decided to plant some basil seeds next to it as complimentary plants. They share the water too. This time, I put the cage down first as a guide to see where the seeds should go. 


I secured the sides of the cage by patting down mud around the edges of the cage and placing rocks in the corners. Good thing too!  A squirrel ran right into it twice trying to escape from me.


I also planted some chard and kale seeds in other rows that I had already enriched with compost. Luckily one of our cisterns is near the garden. But it was running out of water! I'm afraid I hadn't thought through how much more water all this would take. 


And I still had to plant the oregano and mint! At least I had an olla to save water on two of the peppermint plants. The water seeps through the terra cotta pots and plants wrap their roots around the pot only taking the water they need. 


But there were still my other plants to water as well.  Our curry, which had grown so full after the monsoon rain, was now struggling.  First, it lost some leaves during the cold snap. Some of the remaining leaves are now browning. I think it was because I was only watering the surface.  
 

So I decided to deep water it (less often) with a slow drip from two little holes in the 5 gallon bucket.

It's important to learn how much water your plants need in the different seasons - so you don't overwater them. If the plant dies prematurely all the water that went into it is wasted. I recently found out that herbs don't need to be watered very often. I may have lost some herbs from over-watering. 


Luckily it recently rained filling up our big cistern, medium cistern and two smaller water barrels. I just wish we had another cistern (or two) to get us through the dry spells this spring. Because we have already emptied the two smaller blue water barrels and most of the medium cistern. We try not to use too much city water since Arizona is suffering from a 27+ year drought and Lake Mead (where we store our CAP water) is drying up. Conserving water in our landscaping can really make a difference since the largest use of potable water in Arizona is landscaping and as much as 70 percent of residential water use is outdoors. 

Dan and I are fortunate to a have greywater system so we can reuse our washing machine water to help irrigate our drought tolerant fig and pomegranate trees. We carry out sink rinse water to our Mexican Honeysuckle. We pour the water from steaming our veggies and cooking spaghetti around our trees to nourish the soil. (I leave the salt out of the water.) 


I think the lesson for me is to factor in how much water we can get in our cisterns, water barrels and greywater systems (with some supplemental city water) and grow the amount of plants that fit that budget. No matter how fun my little experiments are...


Here is Watershed Management Group's water budget calculator - if you want to check out how much rainwater and greywater you can get in your home. Have fun!

https://watershedmg.org/water-budget-calculator

Saturday, March 26, 2022

Pruning and prepping moringa for spring

On my last blog, I wrote about how our cold-sensitive moringa fared the freeze. I promised to share how I pruned back the moringa to prepare for spring growth and how I went about planting the moringa clippings I propagated. 

cutting the trunk just above the new growth

As mentioned in a previous blog, our three moringa trees grew really huge after all the monsoon rains last summer. After the hard freeze, the branches, leaves and pods dried up as expected. But we were delighted that the bottom half of the big trunks stayed green for the first time! I decided to leave the branches on to see what they would do. 


On the trunks, rings grew around the branches. Interesting... 


I cut off some of the branches close to the ring to see if the cut would heal. I guess they didn't need to because the branch was already dead. 


I pulled off the branches. I would have preferred to "chop and drop" to make much needed mulch for our basin, but it would have been difficult with so many thick branches. We need to get a wood chipper. 
 

To protect them from the cold, I had tried insulated piping around the bottom of most of the trunks and plastic postal bags around those that were too fat. Before each rain, I situated some repurposed bags on top to keep the rain from seeping in between the piping and the trunk so they wouldn't get moldy. 

I waited until spring when I was sure that it wouldn't freeze again before taking off the plastic bags, insulated piping and postal bags. Let's see how it went, shall we?


One of the smaller trunks had started to mold, but not under the insulation. I think the insulation helped protect the new growth.


When I unwrapped the postal bag, I found some mold under it, but also some new growth. Interesting. 


I gathered up all the insulation and plastic bags to use again next year. 


Time to prune them back so the tree can put their energy toward growing new branches. I found it helpful to sit on a sturdy step stool as I worked. On the thicker branches, I used my leg as leverage to push through the branch. I tried to get a clean cut, but it was hard on the big trunks.


I cleaned off the pruners with alcohol between trees to safeguard against spreading diseases.


Here's Dan checking out my work on Saint Patrick's day.  


It's doing great! 


As for my little propagating experiment... 

I had pulled off a branch and cut it into two pieces. Then I planted them in a plastic potting container about 6 inches into a mixture of dirt, compost and potting soil. Since it needs to be 70 degrees to propagate moringa branches, I kept it in the kitchen and only took it outside on sunny days. It was sorta heavy so I placed it inside a 5 gallon bucket. In retrospect, putting it inside the bucket was a mistake. More on that later. 

The cuttings actually did get some growth! So it was time to plant them in our basin. 

I decided to use the empty hole left from a moringa tree that had died a couple years ago. 

When I dug it out to make room for the clippings, I found some nice soil where the roots had been as well as some old potting soil. 

Then I had to get the damn planting pot out of the bucket without breaking the clippings. I used my handy-dandy step stool again. I tipped it over from on top of the stool. The hole gave me more room.  


Then I had to get the clippings out of the pot with the soil they were grown in... I cut the pot with a sturdy, old kitchen knife that I thought noone would ever miss. I was wrong. I will never hear the end of it! Apparently Dan had a better tool in the shed. (A Gerber tool he uses when he's planting.)

I cut off the bottom and down the side of the plastic pot. And carefully pushed it out of the pot. 


Unfortunately, there was stinky water at the bottom of the bucket. The soil with compost at the bottom had gotten anerobic from inproper draining. Pewee! Fortunately, the soil was fine at the top where the moringa branch was. Whew!  


I planted the moringa branches (including the good soil) in the hole. I mixed in some dirt from the ground. Then I pressed it down with my feet. 


Finally, I watered it. 

How's it doing? Thanks for asking.  It has some flower buds. What a lovely surprise! I think it is because there were flowers growing on the branch when I trimmed it in winter.


What an awesome way to celebrate spring! 

Friday, March 18, 2022

Springing forward! How my cold-sensitive plants fared the freeze

 At last! Spring has arrived! After some surprising cold snaps, the sun is shining and I feel confident that there will be no more days below 40 degrees. It's time to share how my plants fared in the cold and what methods worked the best to protect or salvage the cold-sensitive basil and moringa from the hard freeze.

As mentioned in a previous blog, our three moringa trees grew really huge after all the monsoon rain last summer. From experience of winters past, I knew that our moringa (in the right-of-way with nothing to protect them) die during the hard freeze. The whole trunk gets moldy inside. But by spring they usually come back again from the roots. Just to be sure, I wrapped some insulation piping and plastic mailers around the bottom of the trunks. When it rained, I put some reused plastic bags on top so moisture wouldn't seep in between the piping and tree.


Since we always cut back the trunks when the cold season ends, I decided I would try a little experiment. I cut one of the thick trunks to see if I could propagate it. 


I pulled off the branches and cut it into two pieces and planted them in a plastic potting container about 6 inches into a mixture of dirt, compost and potting soil. Since it needs to be 70 degrees to propagate moringa branches, I kept it in the house and took it outside on sunny days. It was sorta heavy so I placed it inside a 5 gallon bucket. In retrospect, putting it inside the bucket was a mistake. More about this on my next blog... 

How did the branch clipping that we tried to propagate in the house do? 

It has started to grow some leaves! 

There was an empty hole waiting for it where one of the moringa died a couple years ago. Check my next blog for the details of how I planted it and how it does in the ground.

How did the moringa in the streetside basin do? After the deep freeze, the leaves and the branches of the trees outside died as expected. But the thick trunks were still green for the first time ever! I waited until I was sure that it wouldn't freeze again before taking off the plastic bags, insulated piping and postal bags. 

Under the insulated piping I found new growth! 


The trunk that was dead on the top - with grey mold - had the most new growth!
  

But what happened with the basil experiment? After getting a variety of ideas on what to do with my basil before the freeze,  I decided to try out a few of the suggestions. 

I planted three basil plants in a hanging pot using the soil that they were grown in. I watered them with rainwater from our cistern. I kept them in the house during the cold nights and put them in the sun on warm days.  They have some new leaves forming! Success!  

Onto the next method... I put some of the healthy basil in a  gardening cage. On cold nights I covered that with an old drape and a table cloth. I uncovered it when it was warm outside.  I also left some uncovered to see how they would do.  


That first night it rained. Both the covered basil and the ones in the ground did very well with the first freeze. I think the deep watering helped those in the ground. 


But many days of cold (and some harvesting) eventually took it's toll on the uncovered basil. The lucky ones went to seed. The basil in the cage grew too big and eventually went to seed as well. 


Someone suggested that I harvest it before the freeze. I harvested a whole bunch that were getting really tall and going to seed. We made two pints of pesto.  But we only managed to use up one pint before it got moldy - even after sharing some with our neighbor.  In retrospect,  we should have frozen some. 


While I was harvesting it, I got a nice surprise. I uncovered a volunteer tomato plant! 


We decided that this little guy deserved the best chance to survive the freeze. So I cut the bottom off a plastic milk bottle to use for shelter. 


I had done the same thing to protect some cilantro sprouts from the critters in our garden... 


The tomato volunteer ended up dying in a week or so. But the cilantro did well in it's reused plastic "terrarium..." 


Well... until we got over-cocky and took it off and some critter gobbled it right up. 

All in all it was a successful experiment. I sure learned a lot and got to eat a lot of pesto! So I'm good. I'm looking forward to more new growth in the spring!

Check out my next blog to find out how I pruned back the moringa and planted the moringa branch I propagated.