On my last blog, I wrote about how our cold-sensitive moringa fared the freeze. I promised to share how I pruned back the moringa to prepare for spring growth and how I went about planting the moringa clippings I propagated.
 |
| cutting the trunk just above the new growth |
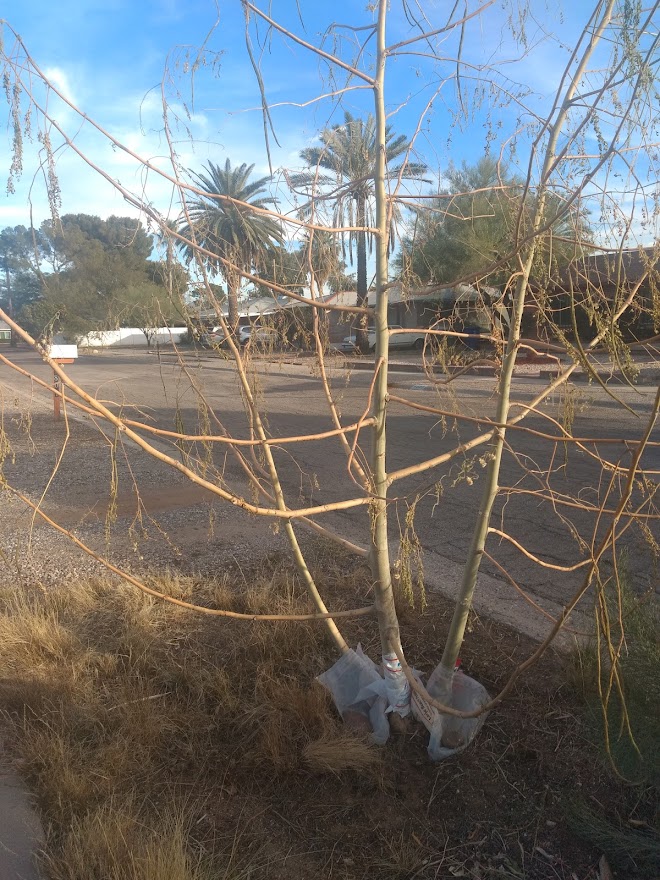
As mentioned in a previous blog, our three moringa trees grew really huge after all the monsoon rains last summer. After the hard freeze, the branches, leaves and pods dried up as expected. But we were delighted that the bottom half of the big trunks stayed green for the first time! I decided to leave the branches on to see what they would do.
On the trunks, rings grew around the branches. Interesting...

I cut off some of the branches close to the ring to see if the cut would heal. I guess they didn't need to because the branch was already dead.


To protect them from the cold, I had tried insulated piping around the bottom of most of the trunks and plastic postal bags around those that were too fat. Before each rain, I situated some repurposed bags on top to keep the rain from seeping in between the piping and the trunk so they wouldn't get moldy.
I waited until spring when I was sure that it wouldn't freeze again before taking off the plastic bags, insulated piping and postal bags. Let's see how it went, shall we?


When I unwrapped the postal bag, I found some mold under it, but also some new growth. Interesting.

I gathered up all the insulation and plastic bags to use again next year.

Time to prune them back so the tree can put their energy toward growing new branches. I found it helpful to sit on a sturdy step stool as I worked. On the thicker branches, I used my leg as leverage to push through the branch. I tried to get a clean cut, but it was hard on the big trunks.

I cleaned off the pruners with alcohol between trees to safeguard against spreading diseases.

Here's Dan checking out my work on Saint Patrick's day.
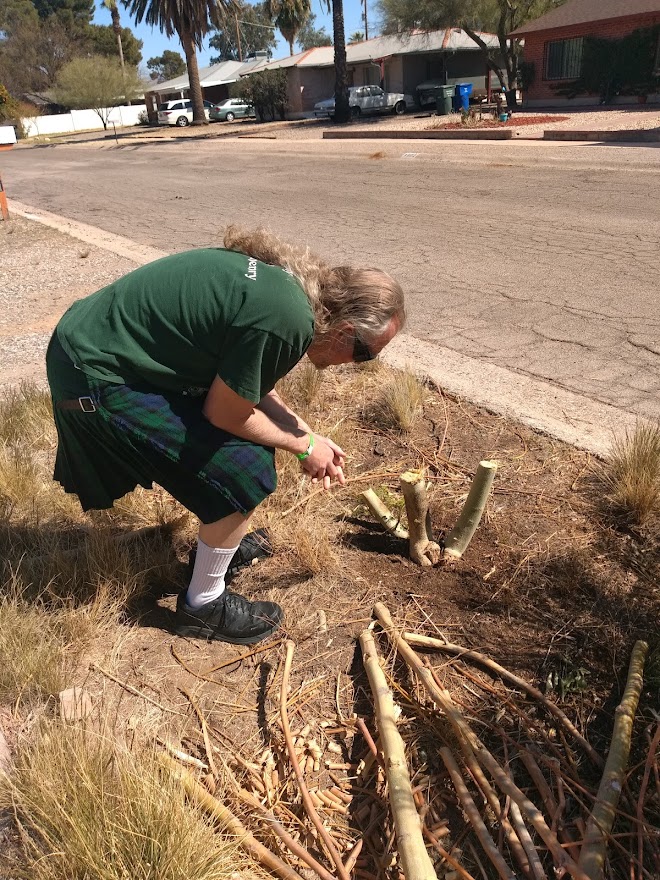
It's doing great!

As for my little propagating experiment...

As for my little propagating experiment...
I had pulled off a branch and cut it into two pieces. Then I planted them in a plastic potting container about 6 inches into a mixture of dirt, compost and potting soil. Since it needs to be 70 degrees to propagate moringa branches, I kept it in the kitchen and only took it outside on sunny days. It was sorta heavy so I placed it inside a 5 gallon bucket. In retrospect, putting it inside the bucket was a mistake. More on that later.

The cuttings actually did get some growth! So it was time to plant them in our basin.

I decided to use the empty hole left from a moringa tree that had died a couple years ago.
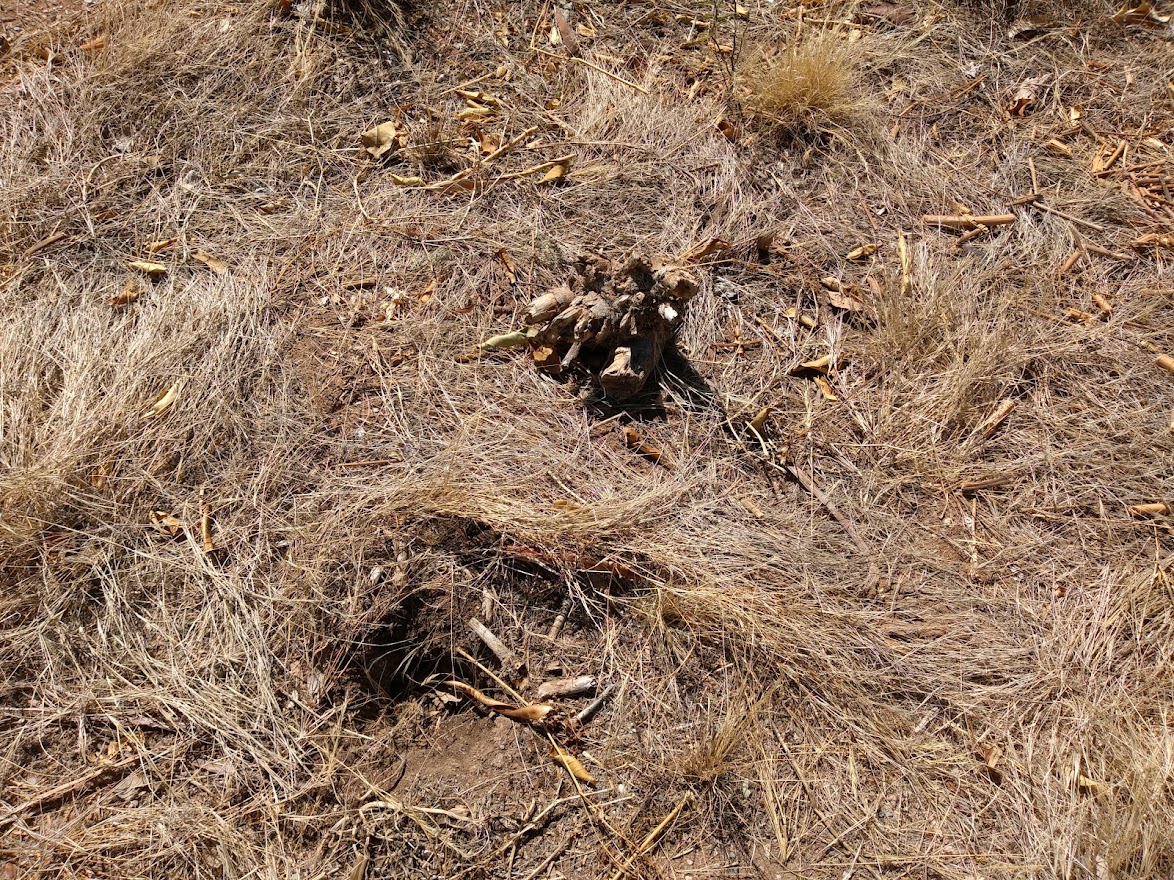
When I dug it out to make room for the clippings, I found some nice soil where the roots had been as well as some old potting soil.
Then I had to get the damn planting pot out of the bucket without breaking the clippings. I used my handy-dandy step stool again. I tipped it over from on top of the stool. The hole gave me more room.


Then I had to get the clippings out of the pot with the soil they were grown in... I cut the pot with a sturdy, old kitchen knife that I thought noone would ever miss. I was wrong. I will never hear the end of it! Apparently Dan had a better tool in the shed. (A Gerber tool he uses when he's planting.)
I cut off the bottom and down the side of the plastic pot. And carefully pushed it out of the pot.


Unfortunately, there was stinky water at the bottom of the bucket. The soil with compost at the bottom had gotten anerobic from inproper draining. Pewee! Fortunately, the soil was fine at the top where the moringa branch was. Whew!

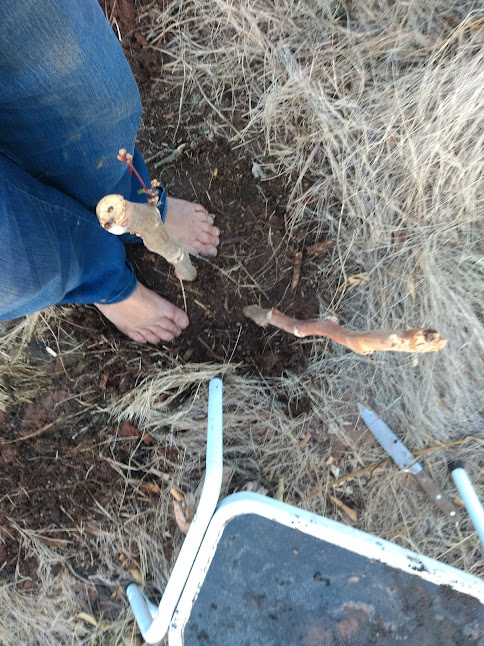
Finally, I watered it.


What an awesome way to celebrate spring!

How's it doing? Thanks for asking. It has some flower buds. What a lovely surprise! I think it is because there were flowers growing on the branch when I trimmed it in winter.

What an awesome way to celebrate spring!
Wow! Awesome tutorial :) Moringas are one tough tree!
ReplyDelete