Showing posts with label Gardening. Show all posts

Thursday, June 6, 2024

Appreciating our Cisterns During this Dry Spell

It is no secret that my favorite rainwater harvesting feature is catchment basins. They can sink in more water than our largest cistern can hold while nourishing the soil and providing food and shelter for birds and other desert critters. But I have to admit that during this long dry patch, (our last wet day was the hail storm on April 1st) I am extremely grateful to have several cisterns to keep my new plants and moringa alive in this extreme heat. (As I write this, there is a heat warning in effect.) 

Every morning before the temperature reaches 80 degrees (the temperature when plants stop taking in water), I am outside watering my baby plants with my watering can filled with rainwater from our cisterns. I have already emptied one slimline cistern and the other one is nearly empty.

Fortunately, I still have water in our biggest cistern in the backyard, but that requires me carrying it through the house. (See pic at the top of the page.)

I get water from the big cistern to daily water the newly planted hibiscus in the greywater basin and to deep water our heritage, desert adapted pomegranate tree, the hibiscus and two curry plants. We're excited that the pomegranate finally grew big enough to support some fruit this year! 

5 gallon buckets with 2 holes in them deep water pomegranate and hibiscus 

We also have a medium cistern by the garden that gets water off of our kind neighbor's huge roof. The few plants I have in my veggie garden only require one watering can a day to keep them going. (I usually have more planted there but I didn't get around to it with my broken wrist.) 

A few years ago, I asked someone at Watershed Management Group if there was any point in putting in rainwater harvesting cisterns when we are getting less and less rain. They replied that you need even more cisterns to get you through the dry months. I have to say I am absolutely a convert now. We are so grateful to have gutters that direct the water from our roof into our rainwater harvesting cisterns to get us through this dry spell and heat wave. Thanks to the cisterns, we haven't had to use any city water in our yard so far this year. 

If you want to try out rainwater harvesting you can start with a little 55 gallon water barrel for a reasonable price.  Here is our first one that we used to water a few veggies. Dan directed a downspout from the gutter into the blue barrel below.

To find out how much water you can harvest at home, try out this simple water budget calculator from Watershed Management Group.

Learn more at Watershed Management Group's Rainwater Harvesting Rebate Classes: 

https://watershedmg.org/learn/classes

Read another cistern story:

Racing to get our cisterns installed before the monsoon storms

Monday, February 6, 2023

Zero Waste Gardening: Building Soil with Kitchen Scraps

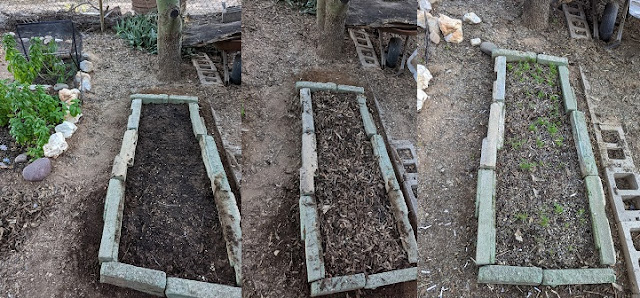
I started with compost, covered it with bermuda grass clippings then planted carrot seeds

If you've been following this blog, you may have heard me lament on how it is nearly impossible to be completely Zero Waste in our consumer culture. Our family is Reduced Waste at best. But we do try. For instance, we tote reusable grocery bags (including produce and bulk bags) and refillable water bottles. 

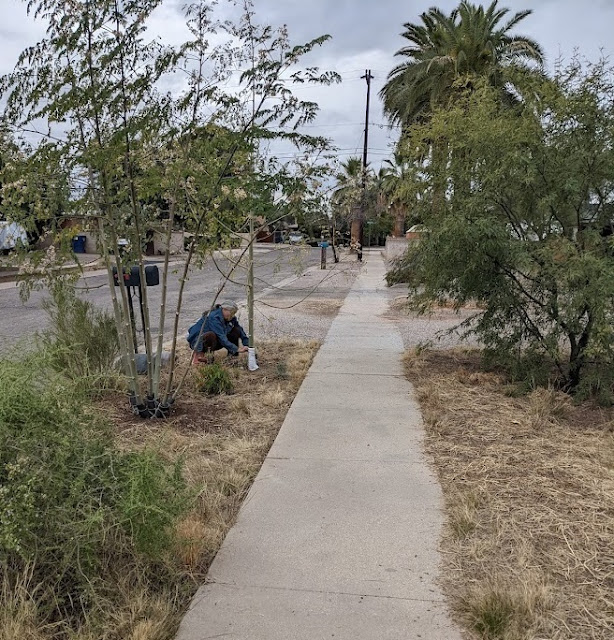
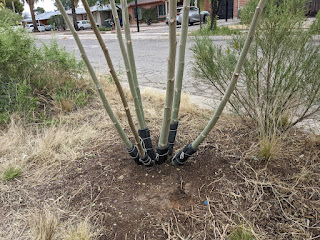
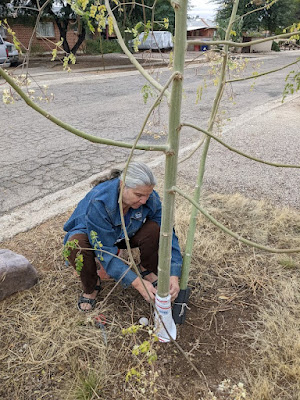
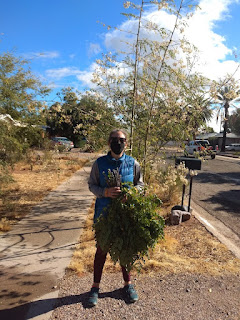
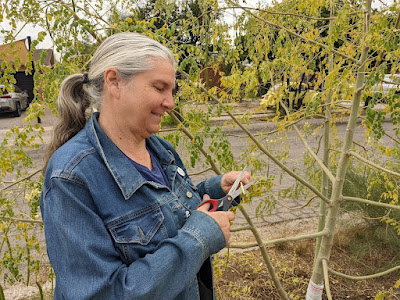
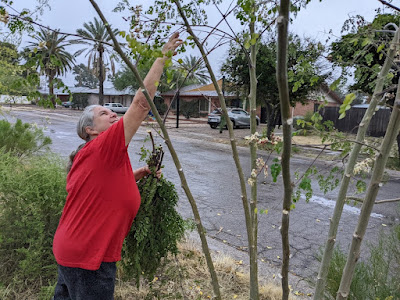
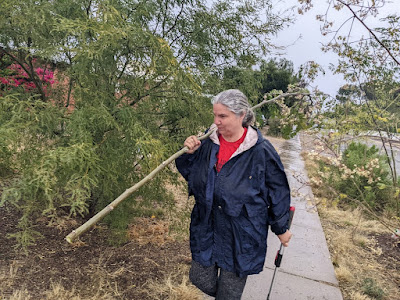
One area where we've come closer to Zero Waste is in the garden. I don't use any store-bought fertilizer since it is packaged in plastic then shipped from far away and may even be derived from fossil fuels. I apply homemade compost topped with mulch made from organic matter that I gather from our yard (bermuda grass before it goes to seed and hollow palo verde pods)  And I'm proud to say we're pretty much Zero Waste when it comes watering our garden. We didn't use any city water to irrigate our garden or landscaping this year - only rainwater!  (Though we do reuse some kitchen rinse water on our compost pile.) 

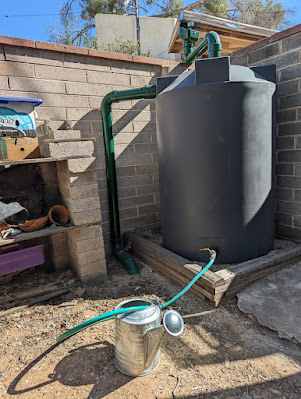
harvesting rainwater from our neighbor's roof for our garden

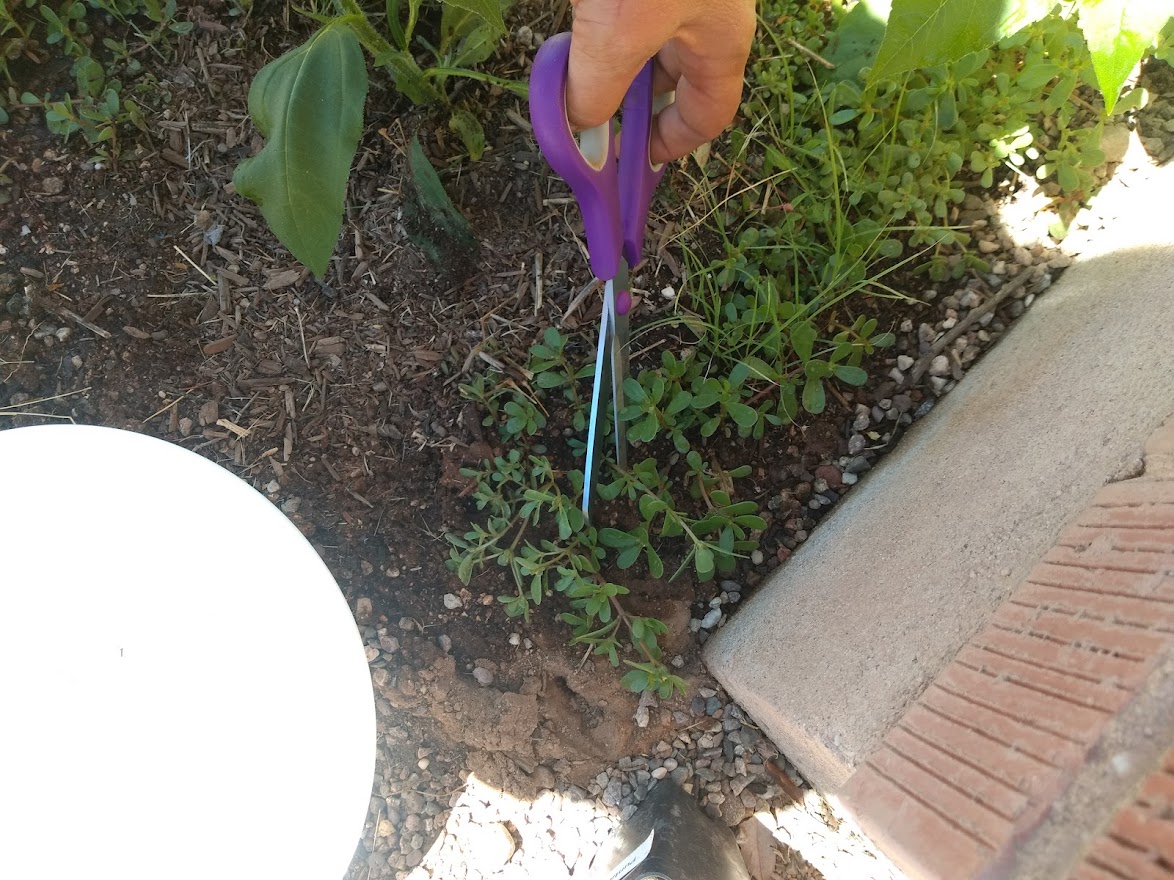
My main reason for gardening, besides growing nutritious food, is to restore some organic matter to our desert soil. I heard at a Master Gardeners lecture that there was hardly any organic matter in Tucson. Many gardeners like to tidy up in the winter by weeding or removing the dead plants. But those so-called weeds provide many benefits to a garden including nourishing the microbes in the soil, giving food and shelter to pollinators, and sequestering carbon.

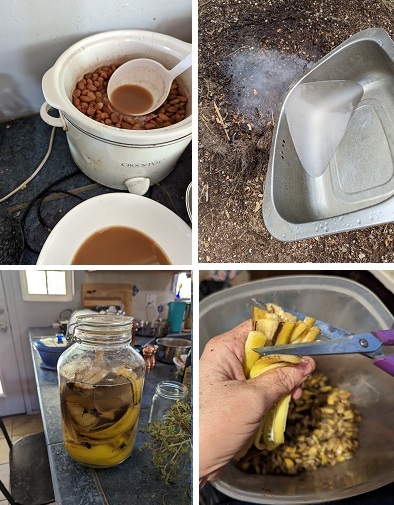
One thing I do to build soil is cut up banana peels and mix them with used tea leaves to create mulch to spread with the leaves that have fallen under our low-water fruit trees. I soak some banana peels to make a tea to add potassium more quickly. I also nourish the soil with unsalted pasta water, bean water and the water from steaming vegetables. So none of that goes to waste.

Speaking of...we are also working on preventing food waste. I collect the ends of onions, celery and carrots and cook them into a delicious broth which I store in reused mayonnaise jars.

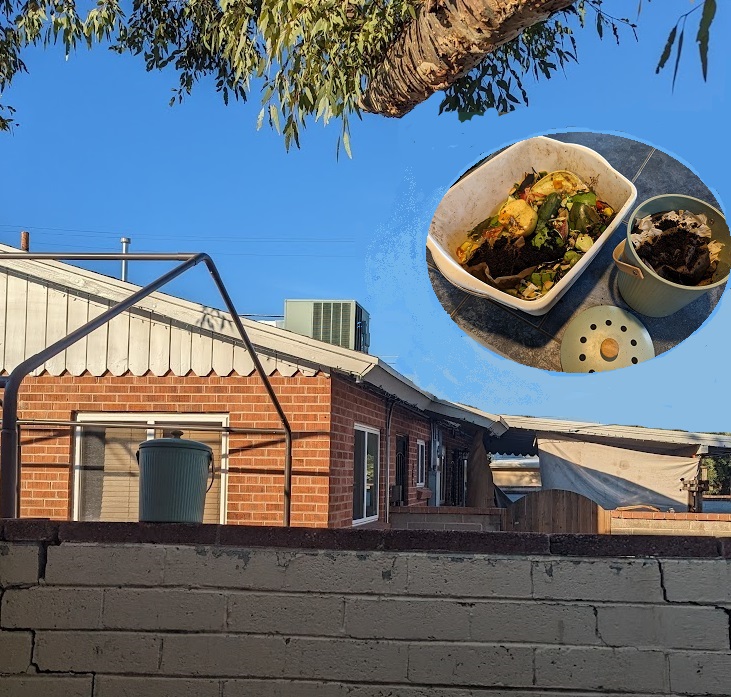
Then I add the cooked celery and carrot scraps with other produce scraps, more banana peels, apple cores, potato peels, used coffee grounds and tea for the compost pile. We are blessed to have neighbors who leave their kitchen scraps for us on our shared wall.

And sometimes we are blessed with an over-abundance of veggies that have been saved from the landfill by Borderland's Produce on Wheels. My husband Dan is the guy riding up with his burley cart.


We do our best to use them up before they go bad. But try as we may some of it ends up in the compost pile to the delight of some very plump worms. 

There are many composting methods. The easiest being just pile your nitrogen-rich kitchen scraps.  green vegetation, used coffee grounds and tea leaves between layers of carbon-rich materials like brown (dried) vegetation, leaves, branches, and shredded paper. (Find a whole list of compostables here.) And keep it damp (not soaked) by spraying it with the hose. But it will take from 6 months to a year once you get a good-sized pile. 

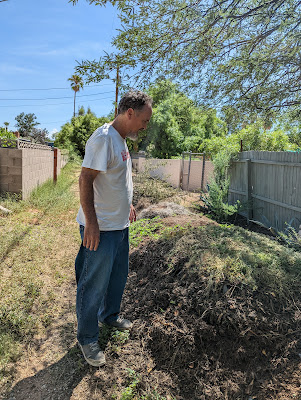
Our friend Richard by his compost mound that includes weeds but takes a year

I'm gonna talk about the method I know - my fast composting method with worms. 

I started out by piling our kitchen scraps, egg shells, used coffee grounds and tea leaves, and some dried leaves, branches, pine needles, and ripped paper and some dirt. We put up a little fence to keep the dog out. We poured our dirty dish water on it to keep it damp. But it was taking a long time - and it never really got hot enough despite exhausting efforts to stir the heavy load to get more air circulation. After over 6 months, I did have some compost at the bottom of the pile though.

I learned that there were some items that were never going to break down: like hard fruit pits, pine cones, "compostable" take-out containers, big sticks, and egg shells. I found out later that Tucson already has too much calcium in our soil, so eggshells aren't recommended. And those "compostable" containers are only compostable in a commercial facility. The avocado pits actually sprouted in the compost pile and grew leaves. I potted two for house plants. They're doing really well in their compost potting soil. 


Live and learn. It was a good start, but I wanted my compost faster. 

Several years back, Dan and I participated in a vermiculture workshop hosted by the UA Students for Sustainability. We even started shredding office paper to start our own system. I was thrilled when I finally got 8 worms from a farmers market. One evening I dumped them on the pile. At first, I was a little worried that birds that peck through our compost pit would gobble them all up. But I continued to tend the compost pit. I learned that worms don't like onions, citrus peels, and pine needles, so I stopped adding those. I started cutting the kitchen scraps into smaller pieces so they compost faster.

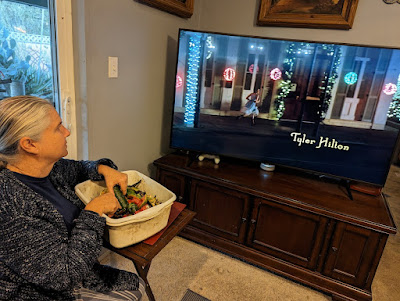
Cutting kitchen scraps into smaller pieces while watching TV

Now I mix the scraps with used coffee grounds and shredded paper before adding it to the pile.


We keep it damp with our dirty dish water.  (We use a greywater dish soap that doesn't have salt.) I needn't have worried about the birds getting all the worms. After a couple of Produce on Wheels runs, we have lots of fat and sassy worms. 

Now we get compost in about three weeks. But I have to sort through the worms. lol 

MORE INFORMATION: 

T U C S O N  O R G A N I C  G A R D E N E R S Home Composting in the Desert Guide 

How to Survive Without Plastic Kitchen Trash Bags: Keep your trash dry by composting

https://open.substack.com/pub/zerowastechef/p/how-to-survive-without-plastic-kitchen?r=2lbus&utm_campaign=post&utm_medium=web

Sunday, May 15, 2022

UPDATE on Spring Garden in Desert Food Forest

In my April 6th blog I wrote about my little experiments of growing a vegetable garden amongst my desert plants at strategic spots around the front yard.  Here are the results of those experiments and what I learned from them. 

I planted one of the tomato plants in a hole left from pulling out a dead milkweed. The soil around the roots looked really good so I thought the tomato would do well out there in the sun. I protected it from lizards and squirrels with a plant cage.  As you can see, this tomato plant did great. I was delighted when it got flowers. But I wasn't sure if it was a self-pollinating tomato, so I took the cage off of it for a few days.  


To be honest the plant cage was a little bit of a pain. I had to remove the gravel I had built up around the cage to keep out the pesky lizards. And it was difficult getting the spike that held the cage down back into the hard ground. One day I spotted some termites in the woodchip mulch dangerously close to the tomato plant, so I had to remove the cage to pull the mulch back. Another time I had to remove it to pull off some low branches that were getting brown from touching the ground. But all in all I'd say it was worth it. Look at all those tomatoes that the squirrels can't get! 

opening the cage
The next experiment wasn't as successful. I wanted to see how our tomato plant would do in the mesquite guild. I was hoping the tomato plant would benefit from the nitrogen the bean tree fixed in the ground. I don't know if there was too much shade, mulch or the hard ground that kept the plant from thriving, because I damaged the trunk when I pulled off a low hanging leaf. 😒


Next are the Jerusalem artichokes (also known as sunchokes). I hand water all of my garden to control how much water I use. I was concerned about how much water I used to get these started.  I watered them several times a day to keep the bulbs moist as recommend.  It was really good for soil. Check out the mushrooms growing there! 


But all the new watering used up the rainwater in my cisterns. Once they were established I cut back the water to once a day.  They seem to be alright with it. I think the living purslane mulch helps retain the water.  I heard that plants don't take in water above 80 degrees. So I try to water them in the morning just after 8 a.m. (Now that it is getting hotter, it's more like 7 a.m.) 

Jerusalem artichokes now hitting the top of the cage 

Unfortunately, I didn't get directions on the sunchokes before planting them. I found out later that they would crowd out any other plant nearby. So when they got bigger, I removed the tomato I planted under the same cage.  I dug the hole in the new spot first, then I carefully dug around the roots of the tomato plant and grabbed some of the surrounding soil to plant with it.  

Might have been better not to do this during the heat of the day... It was looking really sad. I even had to prop up the wilty branches with some sticks.  I thought it might be a goner. 


But I watered it and concocted a shade contraption for it.


I went ahead and harvested some purslane for lunch while the sunchokes were uncovered.  

The tomato plant is thriving on the south facing wall that gets plenty of sun and occasional shade from the toilet planter (don't ask... lol)  I try to water the tomatoes at the same time everyday at 8 a.m. before it gets too hot.  


Well, that was a fun and mostly successful experiment!  I learned a lot and didn't kill most of my plants. 

Friday, March 18, 2022

Springing forward! How my cold-sensitive plants fared the freeze

 At last! Spring has arrived! After some surprising cold snaps, the sun is shining and I feel confident that there will be no more days below 40 degrees. It's time to share how my plants fared in the cold and what methods worked the best to protect or salvage the cold-sensitive basil and moringa from the hard freeze.

As mentioned in a previous blog, our three moringa trees grew really huge after all the monsoon rain last summer. From experience of winters past, I knew that our moringa (in the right-of-way with nothing to protect them) die during the hard freeze. The whole trunk gets moldy inside. But by spring they usually come back again from the roots. Just to be sure, I wrapped some insulation piping and plastic mailers around the bottom of the trunks. When it rained, I put some reused plastic bags on top so moisture wouldn't seep in between the piping and tree.


Since we always cut back the trunks when the cold season ends, I decided I would try a little experiment. I cut one of the thick trunks to see if I could propagate it. 


I pulled off the branches and cut it into two pieces and planted them in a plastic potting container about 6 inches into a mixture of dirt, compost and potting soil. Since it needs to be 70 degrees to propagate moringa branches, I kept it in the house and took it outside on sunny days. It was sorta heavy so I placed it inside a 5 gallon bucket. In retrospect, putting it inside the bucket was a mistake. More about this on my next blog... 

How did the branch clipping that we tried to propagate in the house do? 

It has started to grow some leaves! 

There was an empty hole waiting for it where one of the moringa died a couple years ago. Check my next blog for the details of how I planted it and how it does in the ground.

How did the moringa in the streetside basin do? After the deep freeze, the leaves and the branches of the trees outside died as expected. But the thick trunks were still green for the first time ever! I waited until I was sure that it wouldn't freeze again before taking off the plastic bags, insulated piping and postal bags. 

Under the insulated piping I found new growth! 


The trunk that was dead on the top - with grey mold - had the most new growth!
  

But what happened with the basil experiment? After getting a variety of ideas on what to do with my basil before the freeze,  I decided to try out a few of the suggestions. 

I planted three basil plants in a hanging pot using the soil that they were grown in. I watered them with rainwater from our cistern. I kept them in the house during the cold nights and put them in the sun on warm days.  They have some new leaves forming! Success!  

Onto the next method... I put some of the healthy basil in a  gardening cage. On cold nights I covered that with an old drape and a table cloth. I uncovered it when it was warm outside.  I also left some uncovered to see how they would do.  


That first night it rained. Both the covered basil and the ones in the ground did very well with the first freeze. I think the deep watering helped those in the ground. 


But many days of cold (and some harvesting) eventually took it's toll on the uncovered basil. The lucky ones went to seed. The basil in the cage grew too big and eventually went to seed as well. 


Someone suggested that I harvest it before the freeze. I harvested a whole bunch that were getting really tall and going to seed. We made two pints of pesto.  But we only managed to use up one pint before it got moldy - even after sharing some with our neighbor.  In retrospect,  we should have frozen some. 


While I was harvesting it, I got a nice surprise. I uncovered a volunteer tomato plant! 


We decided that this little guy deserved the best chance to survive the freeze. So I cut the bottom off a plastic milk bottle to use for shelter. 


I had done the same thing to protect some cilantro sprouts from the critters in our garden... 


The tomato volunteer ended up dying in a week or so. But the cilantro did well in it's reused plastic "terrarium..." 


Well... until we got over-cocky and took it off and some critter gobbled it right up. 

All in all it was a successful experiment. I sure learned a lot and got to eat a lot of pesto! So I'm good. I'm looking forward to more new growth in the spring!

Check out my next blog to find out how I pruned back the moringa and planted the moringa branch I propagated.

Saturday, January 1, 2022

Getting Ready for the Freeze


At last! Winter has descended on our desert town. While there are joys to be had - like nearly an inch of rain that filled up all our cisterns -  winter also brings with it some challenges. 

I've learned (the hard way) that there are some preparations I need to make around our yard to be ready for the freeze. And there are some things that I am still learning - like what to do with the basil... 

After the big rain this summer, our three moringa trees grew so big and had pods (drumsticks) for the first time. What a delight it was to see them flourish and to enjoy the bountiful harvest of leaves, small pods, and flowers!  I will be so sad to see them go. From experience of winters past, I know that our moringa (in the right-of-way with nothing to protect them) die during the hard freeze. In fact, the whole trunk gets moldy inside. The good news is that that they usually come back again from the roots by the next spring. But I feel a bit more secure when I wrap some insulation piping around the bottom of the trunks. Here it is all tied up with string.  


The trunks grew so thick this year, that even two pieces of piping didn't fit around them all. So I wrapped a used plastic mailer around the thickest ones. You know, the envelopes with the bubble wrap in them? It felt good to re-purpose that packaging too. We'll see how it does. 


We had so many edible leaves this year, that we put out a call for people to glean some, but we still had plenty left.


The moringa were starting to lose their leaves in the cold. So I started pulling off the leafless branches and cutting them into small pieces to add to the decaying mulch. That's what Brad Lancaster calls "Chop and Drop." I just love free mulch! 


The day after I got the insulation around the trunks, it started to pour. I knew it was supposed to freeze the next night (Saturday), so I rushed out into the storm and started harvesting some more of the nutrious leaves. 


I wrapped a rubber band around them and hung them to dry. 


Since we will be cutting back the trunks when the cold season ends, I decided I would try a little experiment. I cut one of the thick trunks to see if I could propagate it. 


Here I am carrying the trunk - branches, flowers, and all - to the house. 


I pulled off the branches and cut it into two pieces and planted them about 6 inches into soil  (a mixture of dirt and potting soil.) Yeah, I understand this isn't the right season to propagate this way. It needs to be 70 degrees. But I thought I would start it in the house and plant it when it warms up. (If it works...)  I heard that one gardener had started some in water in the house. 

I also left some test branches to see if these larger trees could make it through a freeze and they did!  I think it was because of the deep watering it got the day before. 

UPDATE 3:50 p.m. The branches still seem to be intact, but the leaves are wilting and dying.

Like I said, it's an experiment... 

Speaking of experimenting... After getting a variety of ideas on what to do with my basil before the freeze,  I decided to try out a few of the suggestions. 

I headed out to the garden to protect what I could of our basil. 


I finally get to try this gardening cage. 


I covered it with an old cloth. I heard it should reach all the way to the ground. I did my best.


Then I dug up one of the smaller basils and planted it in a hanging pot that I will keep in the house until after the freeze. 


I ended up planting three basil plants in the soil that they were grown in. I watered them with rainwater from our cistern. 


Someone suggested that I harvest it before the freeze. I harvested a whole bunch that were getting really tall and going to seed. 


While I was harvesting it, I got a nice surprise. I uncovered a volunteer tomato plant! 


We decided that this little guy deserved the best chance to survive the freeze. So I cut the bottom off a plastic milk bottle for shelter. 


I had done the same thing to protect some cilantro sprouts from the critters in our garden... 


That night it rained. Which was great because it completely filled up our new cistern! Deep watering also helps protect plants from the freeze.*


I covered up our compost with an old table cloth so it wouldn't get over saturated and become anaerobic. 


And I managed to find another one to cover up the cloth I put over the basil.  


I  happily carried my basil bounty back to the house. 


Can't wait to see how my little experiments turn out. In the meantime, we'll enjoy the harvest!

Starting with this tasty pesto! 


Wishing you and yours an abundant New Year!

For the results of my little experiment check out: 

Springing forward! How my cold-sensitive plants fared the freeze

MORE INFORMATION

All you need to know about frost protection in your Tucson garden - tucson.com*

6 Tips for Protecting your Warm-Climate Garden from Freezing Temperatures -growinginthegarden

Why we put Styrofoam cups on cacti and other Tucson winter gardening tips
Tips for desert gardening in the winter
-  This Is Tucson